Checkboard Chocolate Cake
Vegan Layered Cake

A cake that will most likely be a show stopper on you table because number one who doesn’t like chocolate over layers of chocolate and covered in chocolate, once you cut that first slice everyone will want a piece. It’s called a check-board cake because once you cut it you will be in awe of all those equally little blocks of different colors that you assembled earlier in the process (you can watch my iG video for a visual of assembling). Don’t get intimidated by what you see , the assembling is like doing a toddle’s puzzle I promise.
This recipe is from the most nicest memory I have of my brother’s birthdays and by the way the colors my mom used to make were orange, yellow and green and it was the most festive cake I’ve ever seen; this is the one cake my mom use to make only on his birthday because it is such a labor of love; It was taught to my mom by one of her good friends who loves to bake and she was the one who we first tried it from. My mom obviously put me to work on cutting and then assembling each layer, which back then I just wanted to eat it but I sure learned how to make one! She no longer makes it because one my brother lives far away and two because….hmmm…..well because she’s pass the baking torch to me.
This cake will remain as very special in my books and I love how I was able to make it fully vegan. If you are on the fence of making vegan cakes, this one will be one that no one will ever tell is vegan. It is freezer friendly as long as you double wrap it in plastic and lastly with foil. It is a cake to enjoy with family and friends around the table and savor each little chocolate square. Remember you don’t necessarily need cutting tools for each ring, you can use the base of a cup or a plate to cut them.

Checkboard Chocolate Cake
Vegan
Makes: 12 servings
Prep time:
Cook time:
-
BASE FOR ALL LAYERS
- 1 cup flour
- 1 tsp baking powder
- 1/2 tsp baking soda
- 1/3 cup sugar
- 1 pinch of salt
- 2 ½ Tbsp coconut oil, melted
- 3/4 tsp vanilla extract
- 1/2 cup + 3 Tbsp milk
- 1 tsp apple cider vinegar 2ND LAYER (+base)
- 2 tsp cacao powder, sifted 3RD LAYER (+base)
- 1 Tbsp (heaping) cacao powder, sifted FROSTING
- 1/4 cup cashews, soaked overnight
- 1/4 cup hazelnuts, soaked overnight
- 1/4 cup + 2 Tbsp maple syrup
- 2 Tbsp water
- 1 Tbsp cacao powder
- 1 tsp vanilla extract
- 2 tsp cacao butter GANACHE
- 3/4 cup cacao powder, sifted
- 3/4 cup maple syrup, lukewarm
- 1/2 cup cacao butter, melted ----------------
- 2 Tbsp caramel (optional)
- 1 pinch of maldon salt or any flaky sea salt
- For the cakes, prepare 8” molds, butter them and line with parchment paper; preheat oven at 350F
- I personally made the cakes one by one because I have only one 8” mold, if you happen to be on the same wagon than make sure your mold is completely cooled to start the next batter, if unlike me you have three molds please follow the same direction; mix all dry and wet ingredients in different bowls and then simply pour slowly the wet over dry and mix until completely mixed; if you have tripled the recipe, than divide in 3 equal parts and then add the cacao powder per 2nd and 3rd layer above and bake for 25 minutes and then let cool completely
- For the frosting, mix nuts maple syrup, water and vanilla extract in a blender and press high until you have a smooth cream (not runny but smooth); finally add the cacao powder and blend until completely mixed. I suggest making the frosting one day before so you allow to harden covered in the fridge
- For the ganache I suggest making it once you are ready to pour it over the cake. Mix all ingredients with a whisk until you have a shiny not so runny ganache
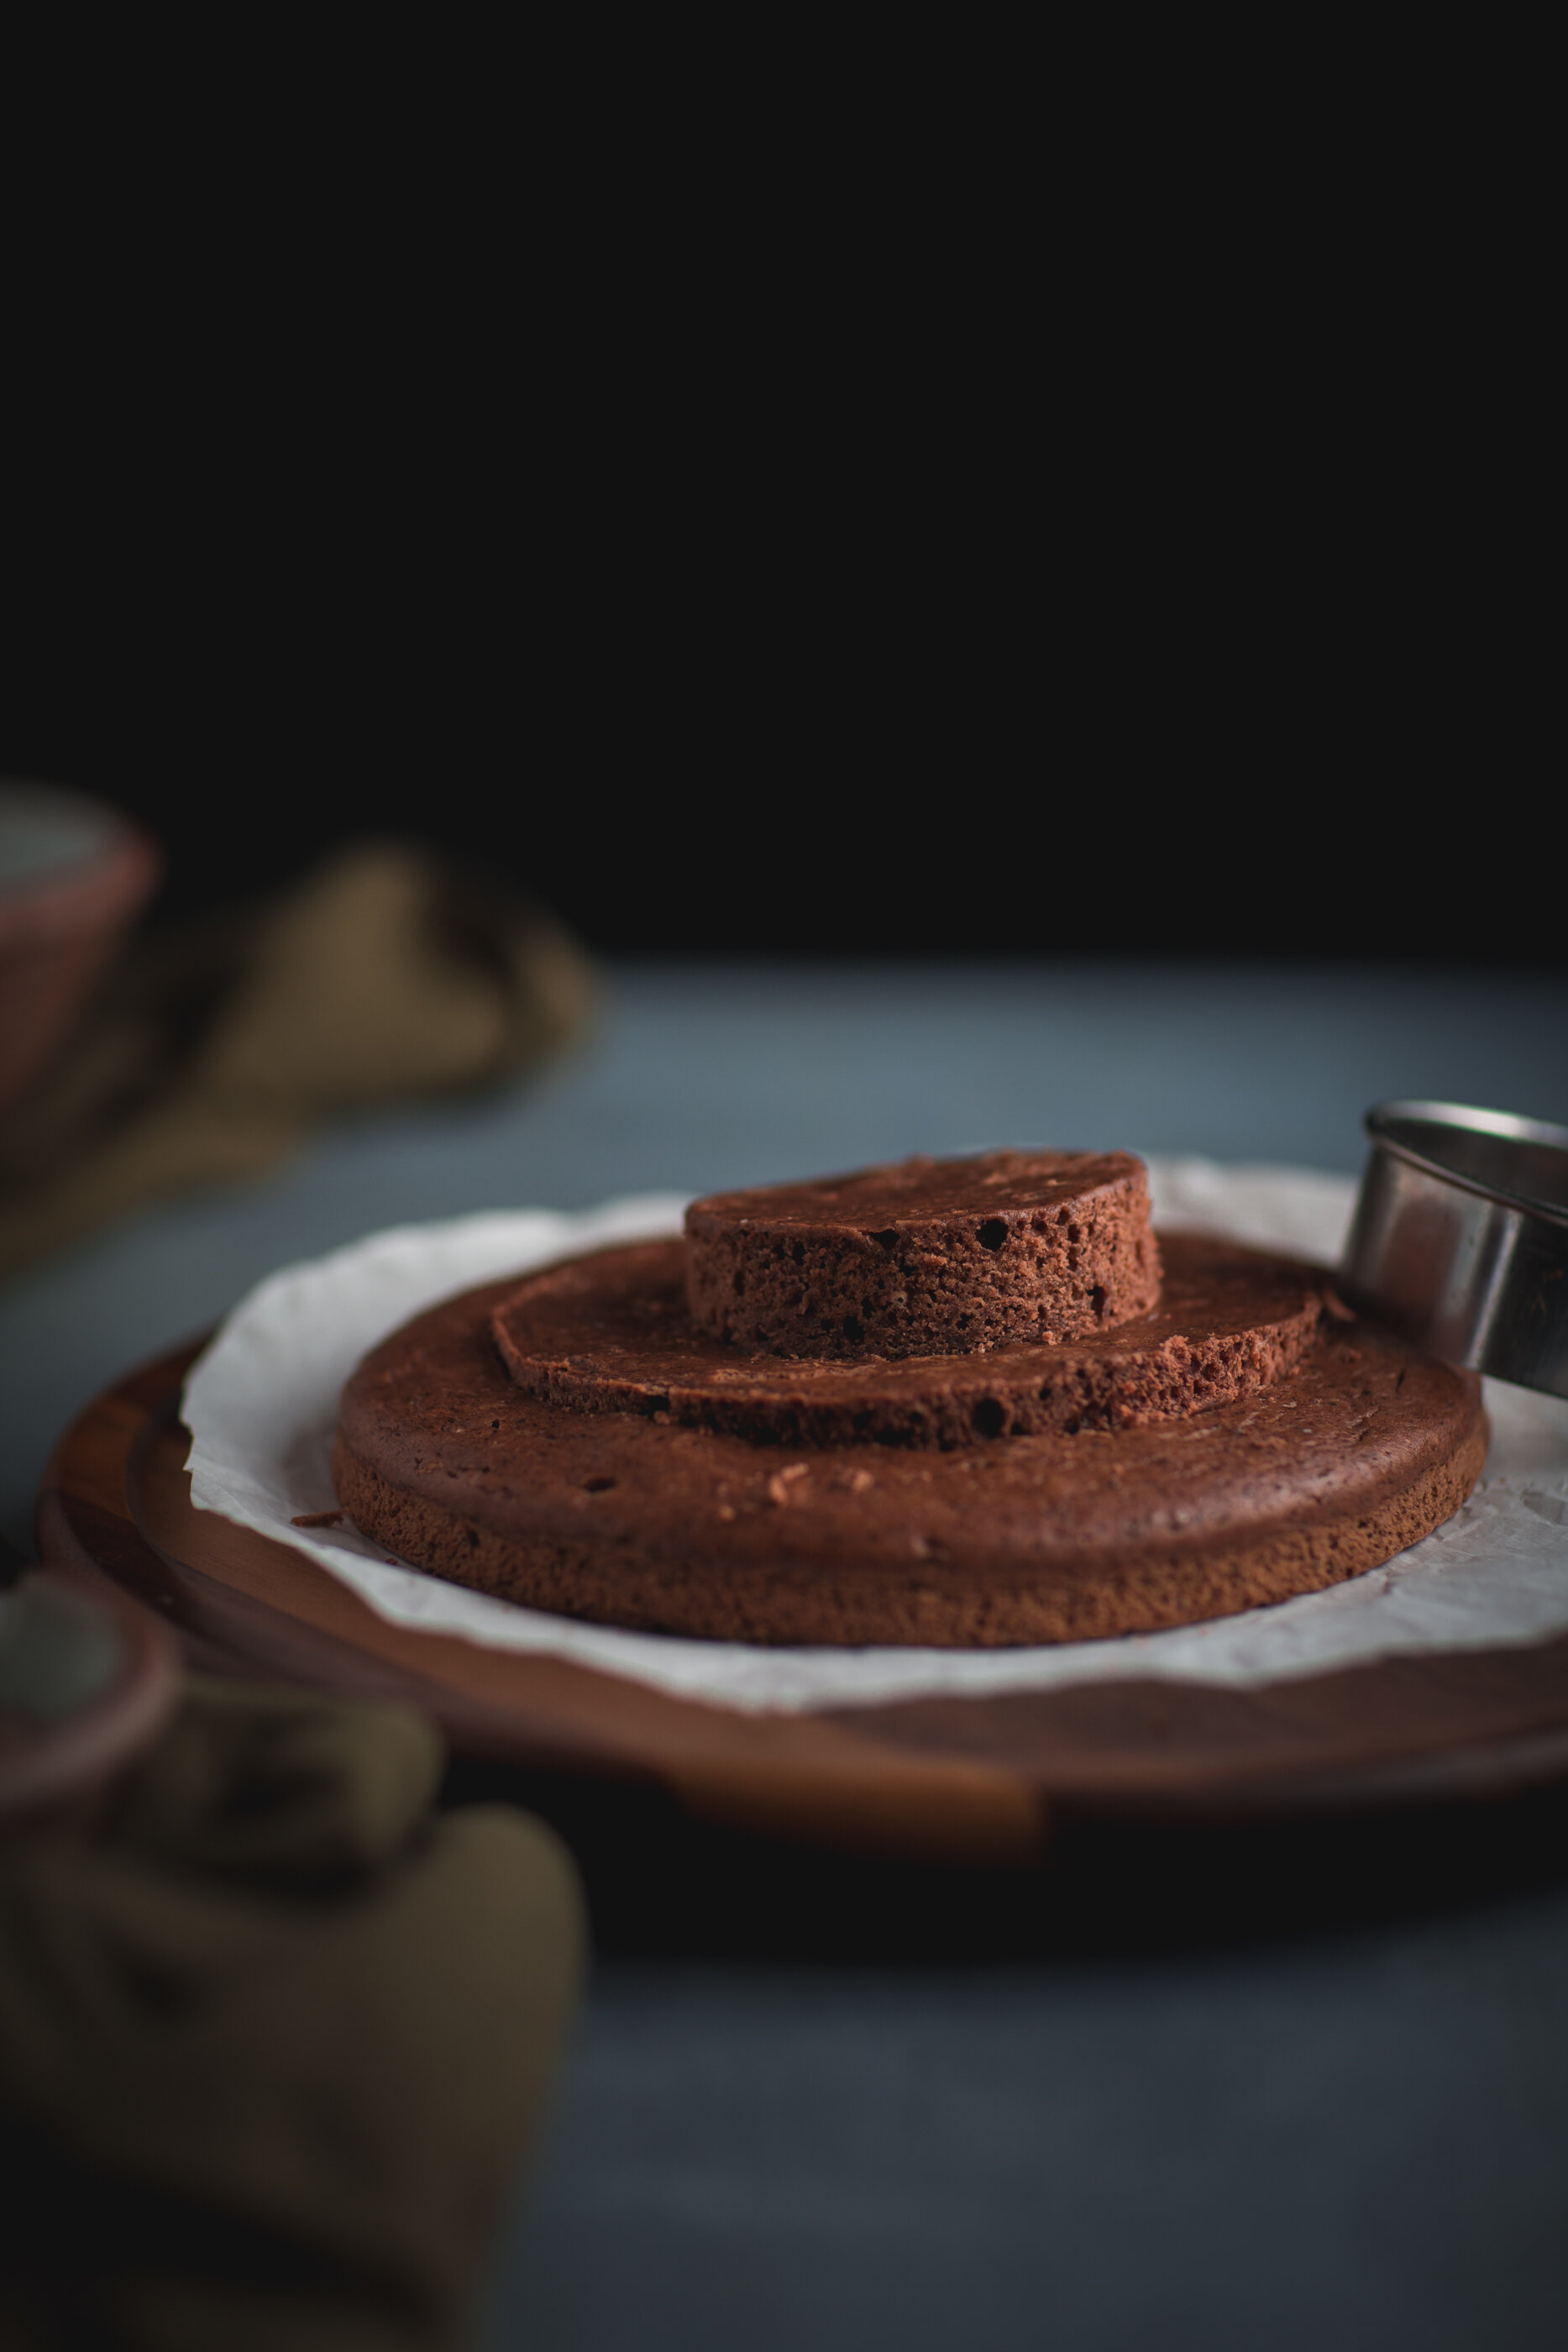
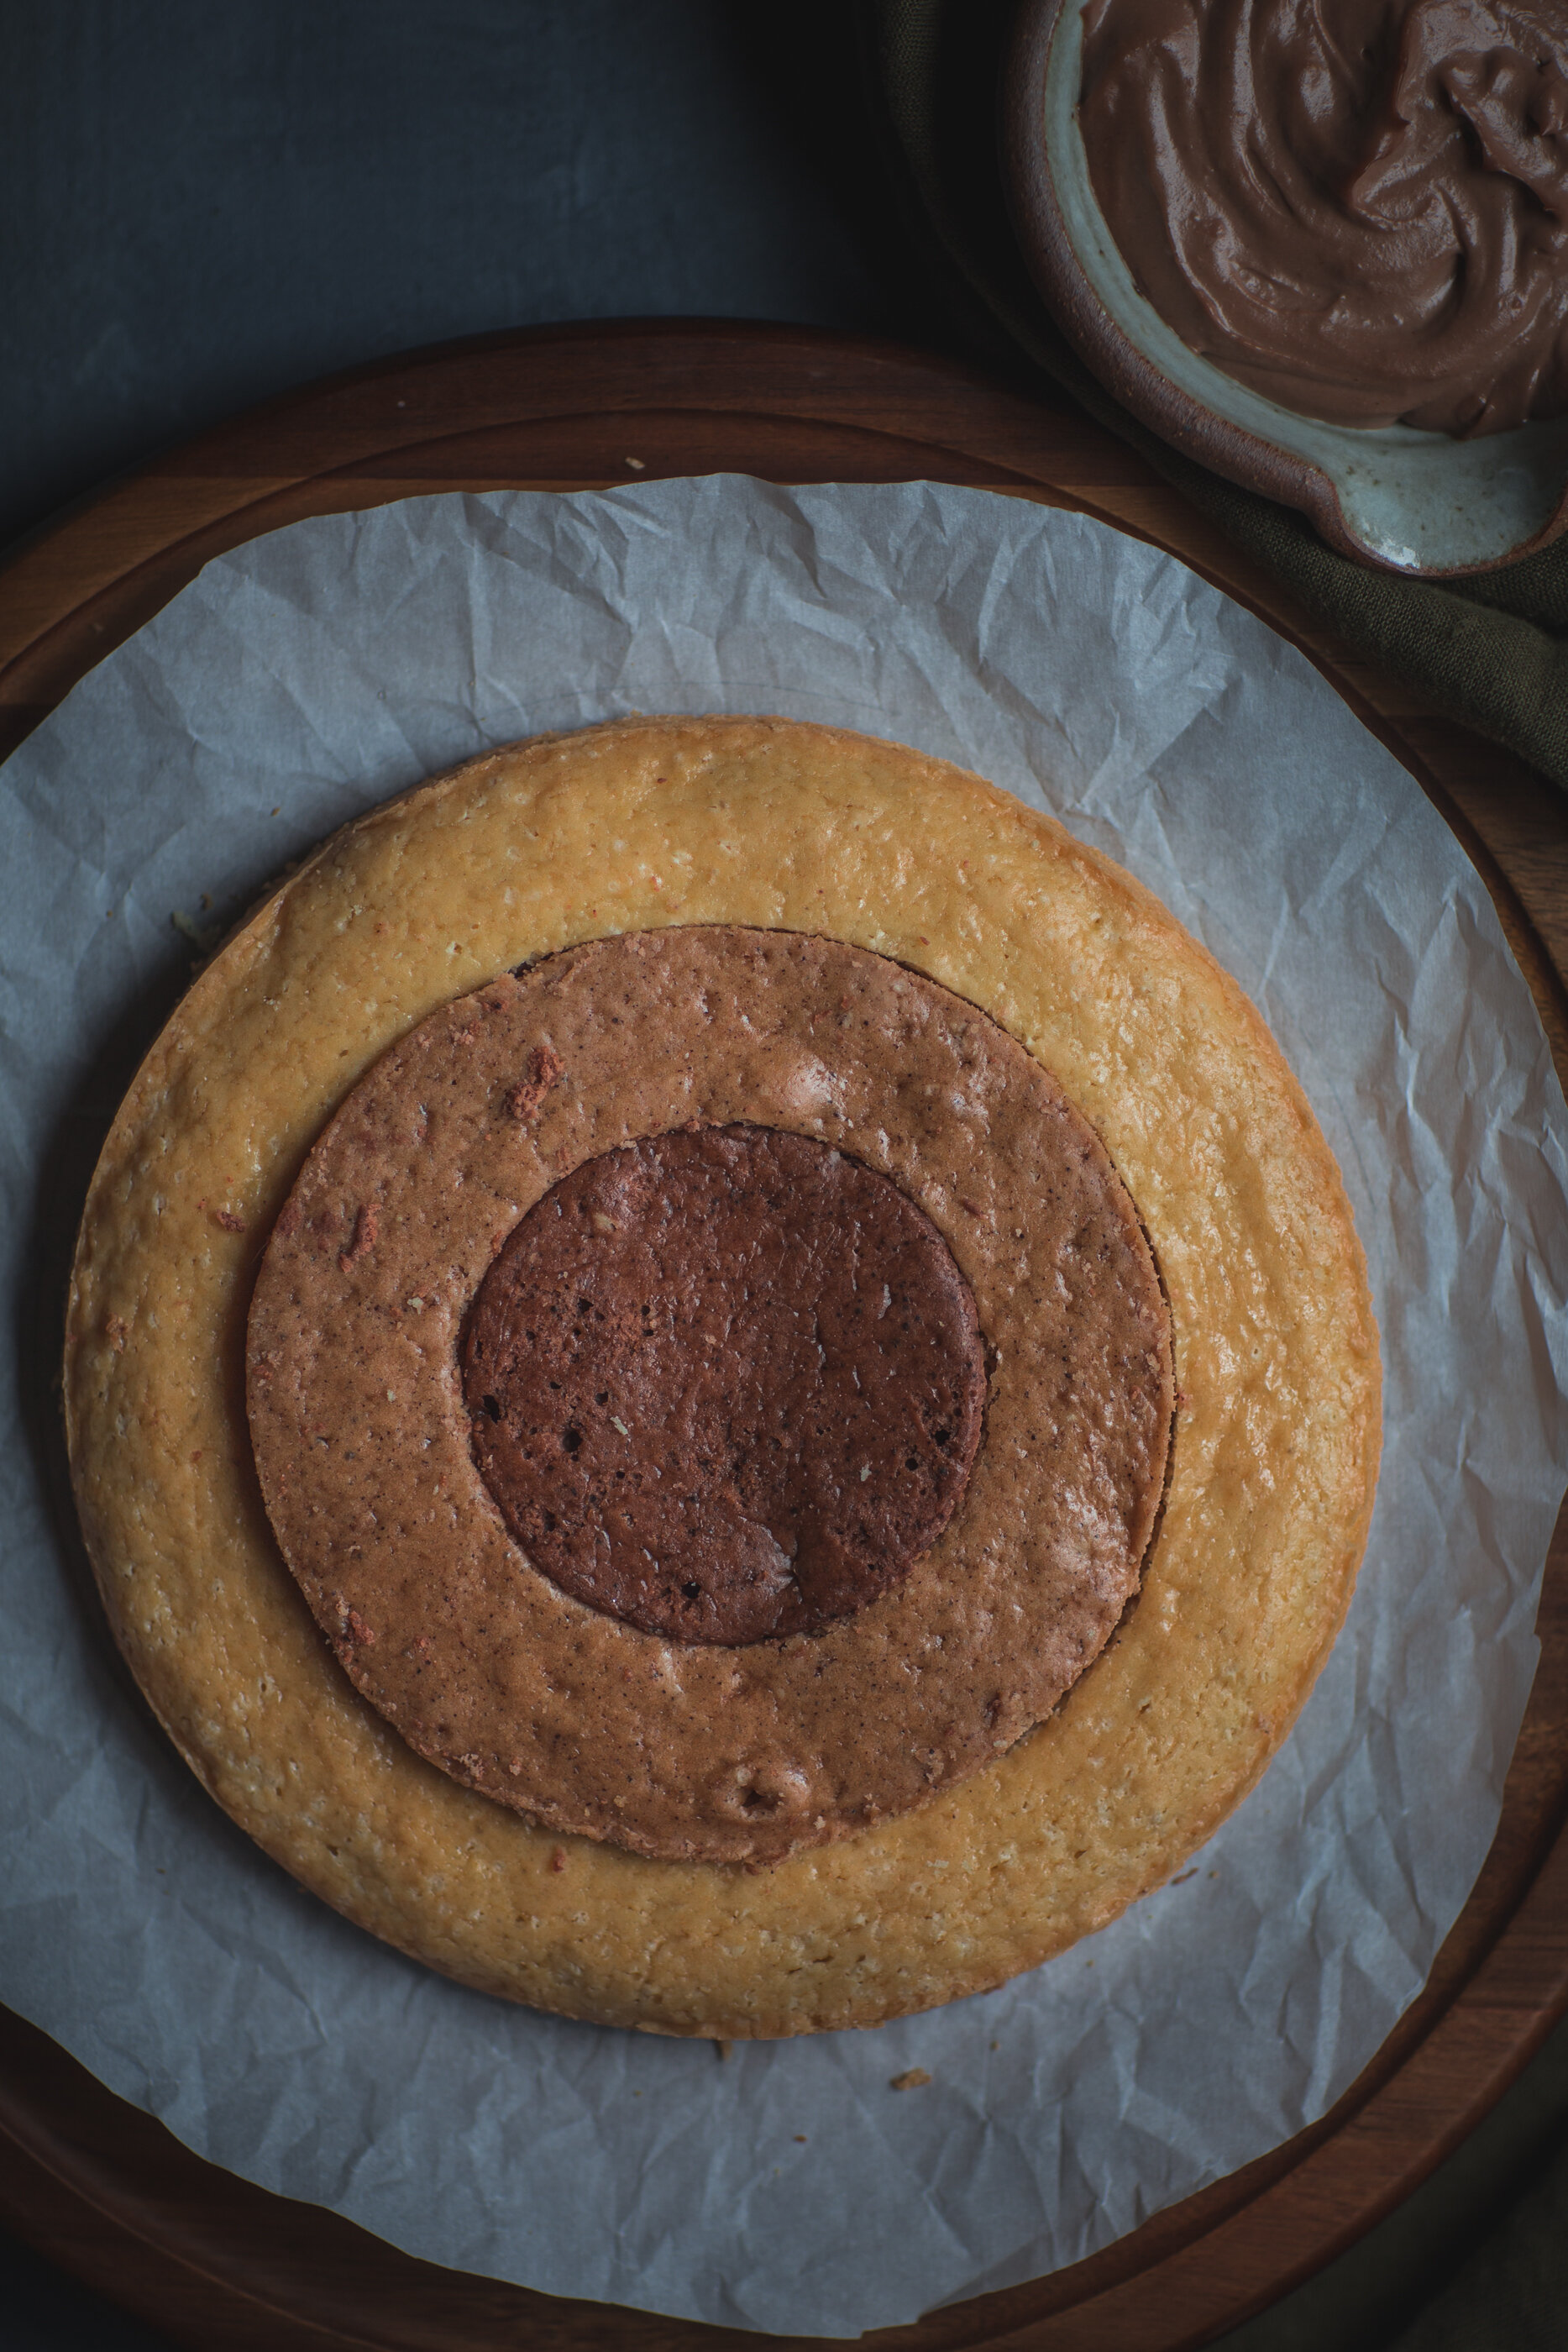
- Back to our cooled cakes and to form each ring (as pictured); each cake will get cut in 3 rings with the smallest ring of 2¾” and the middle ring of 5½”. I had a cutter for the smallest ring but I used a small plate to get my middle ring
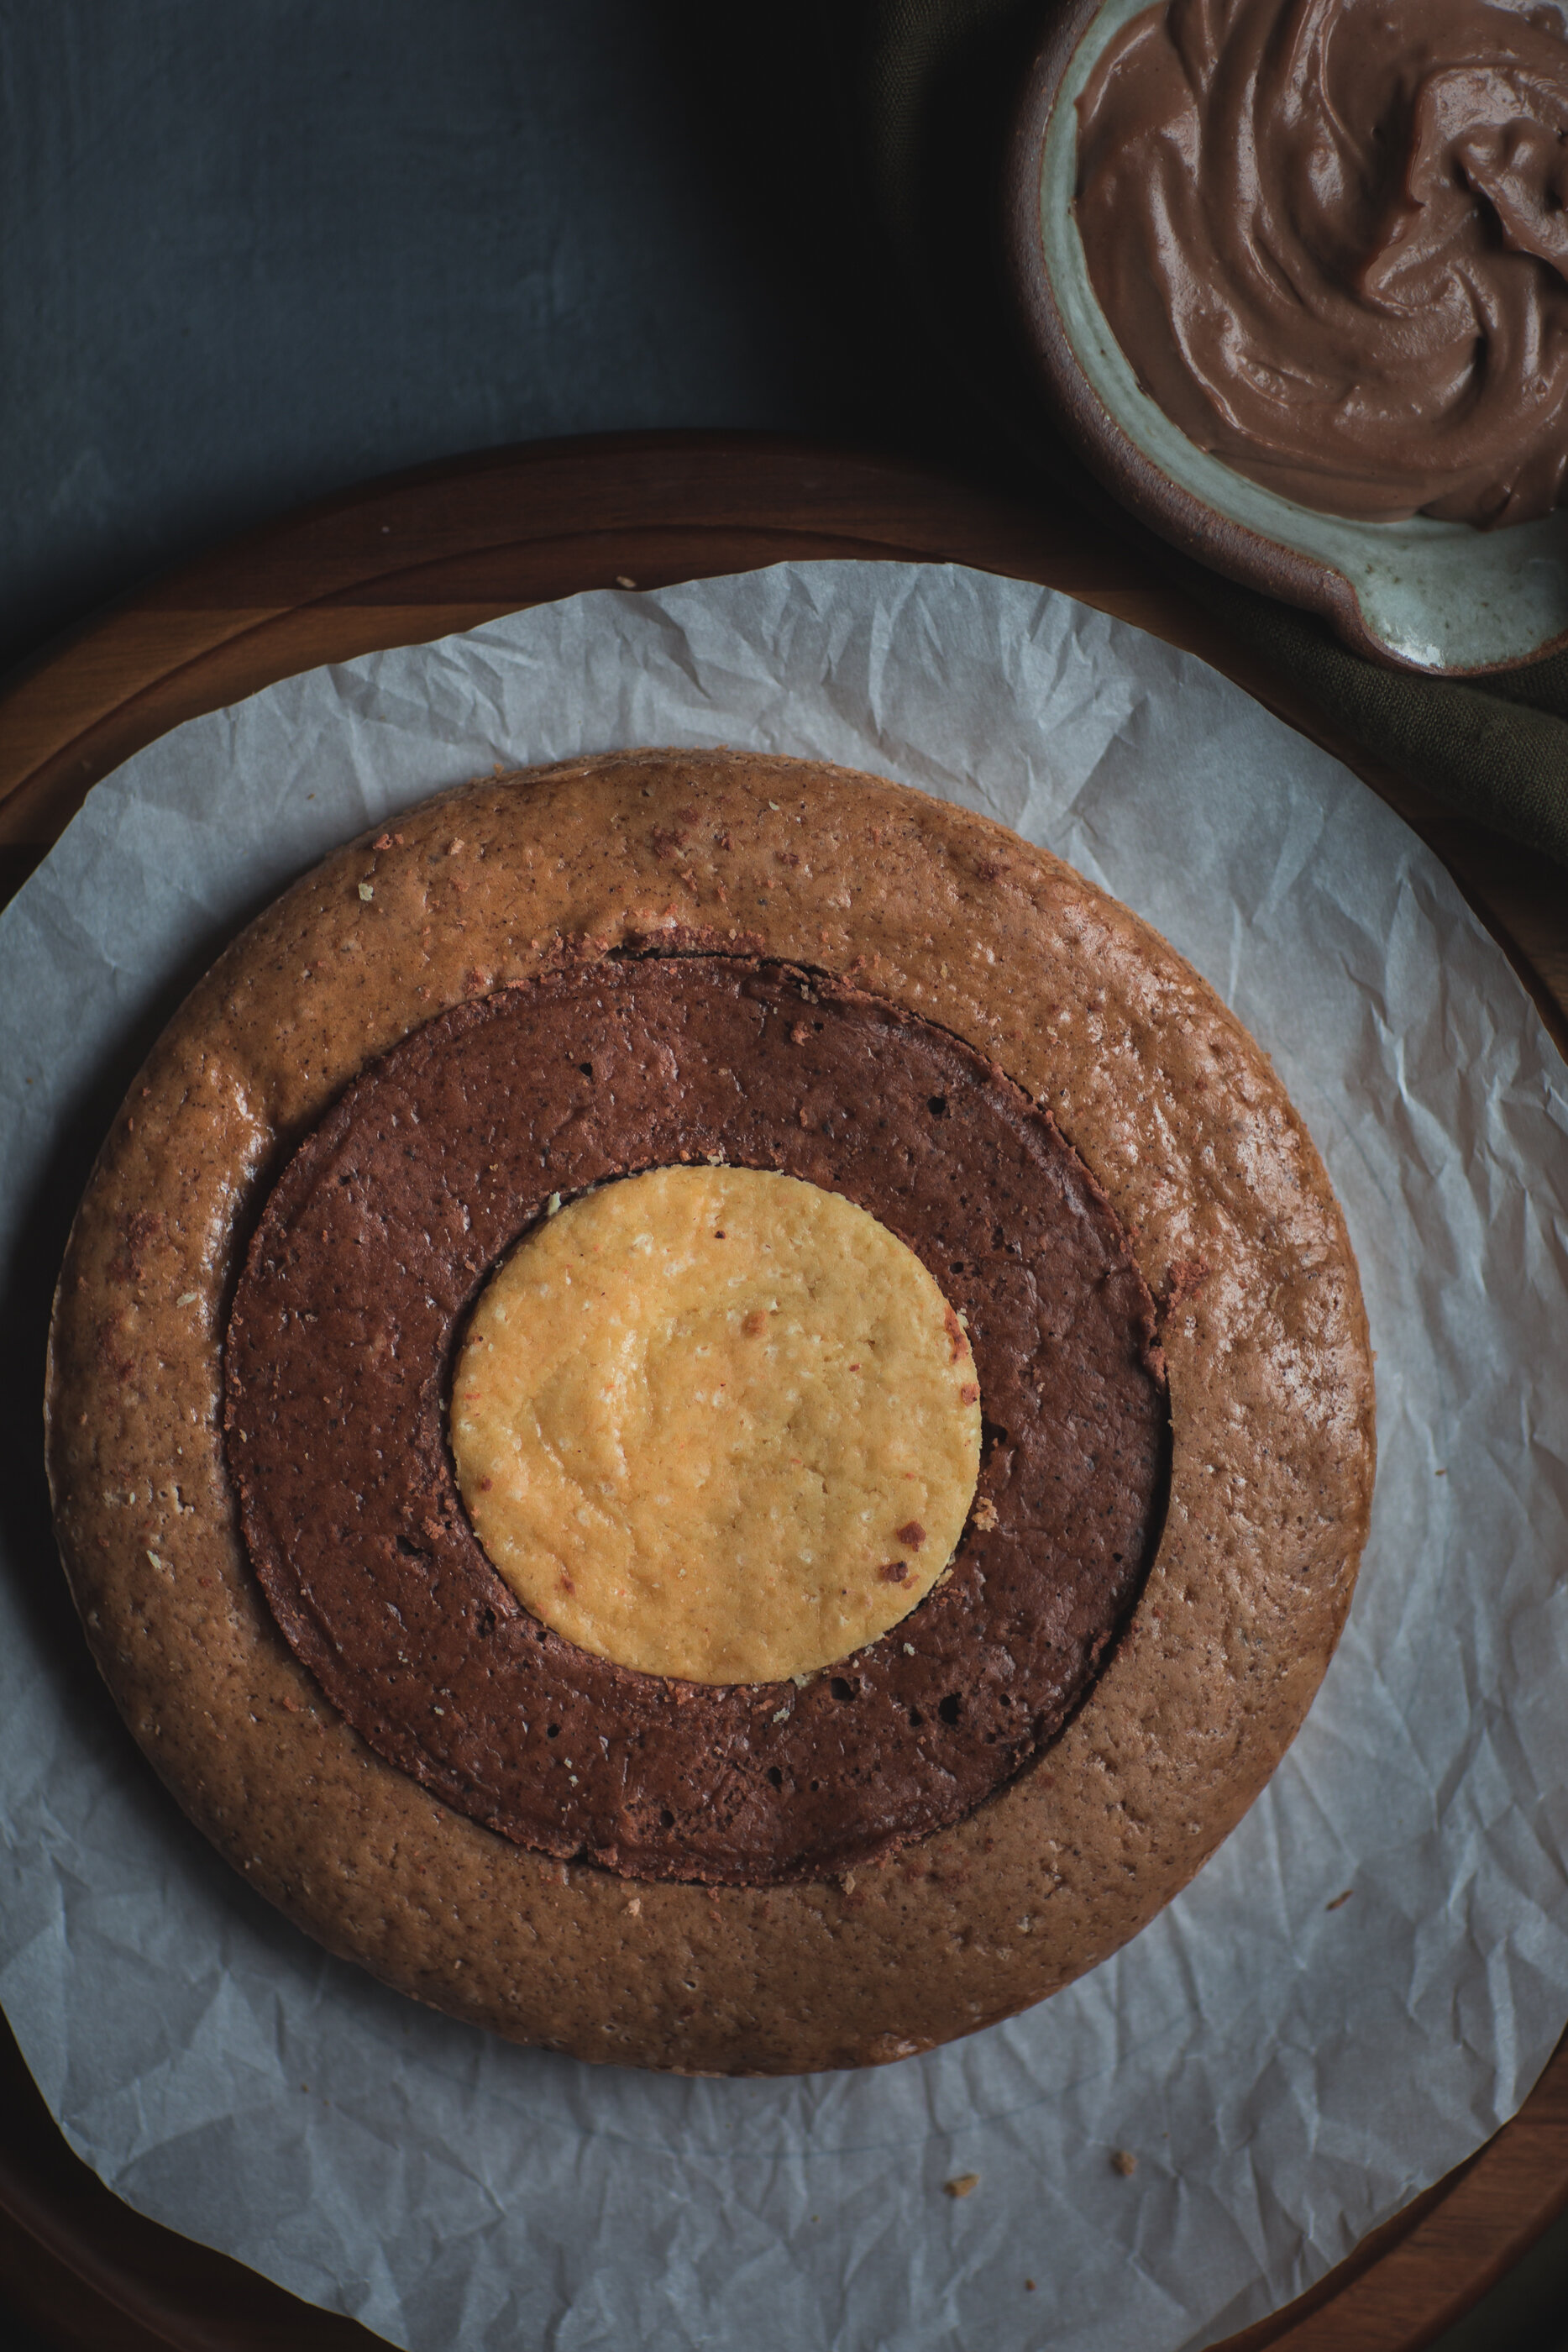
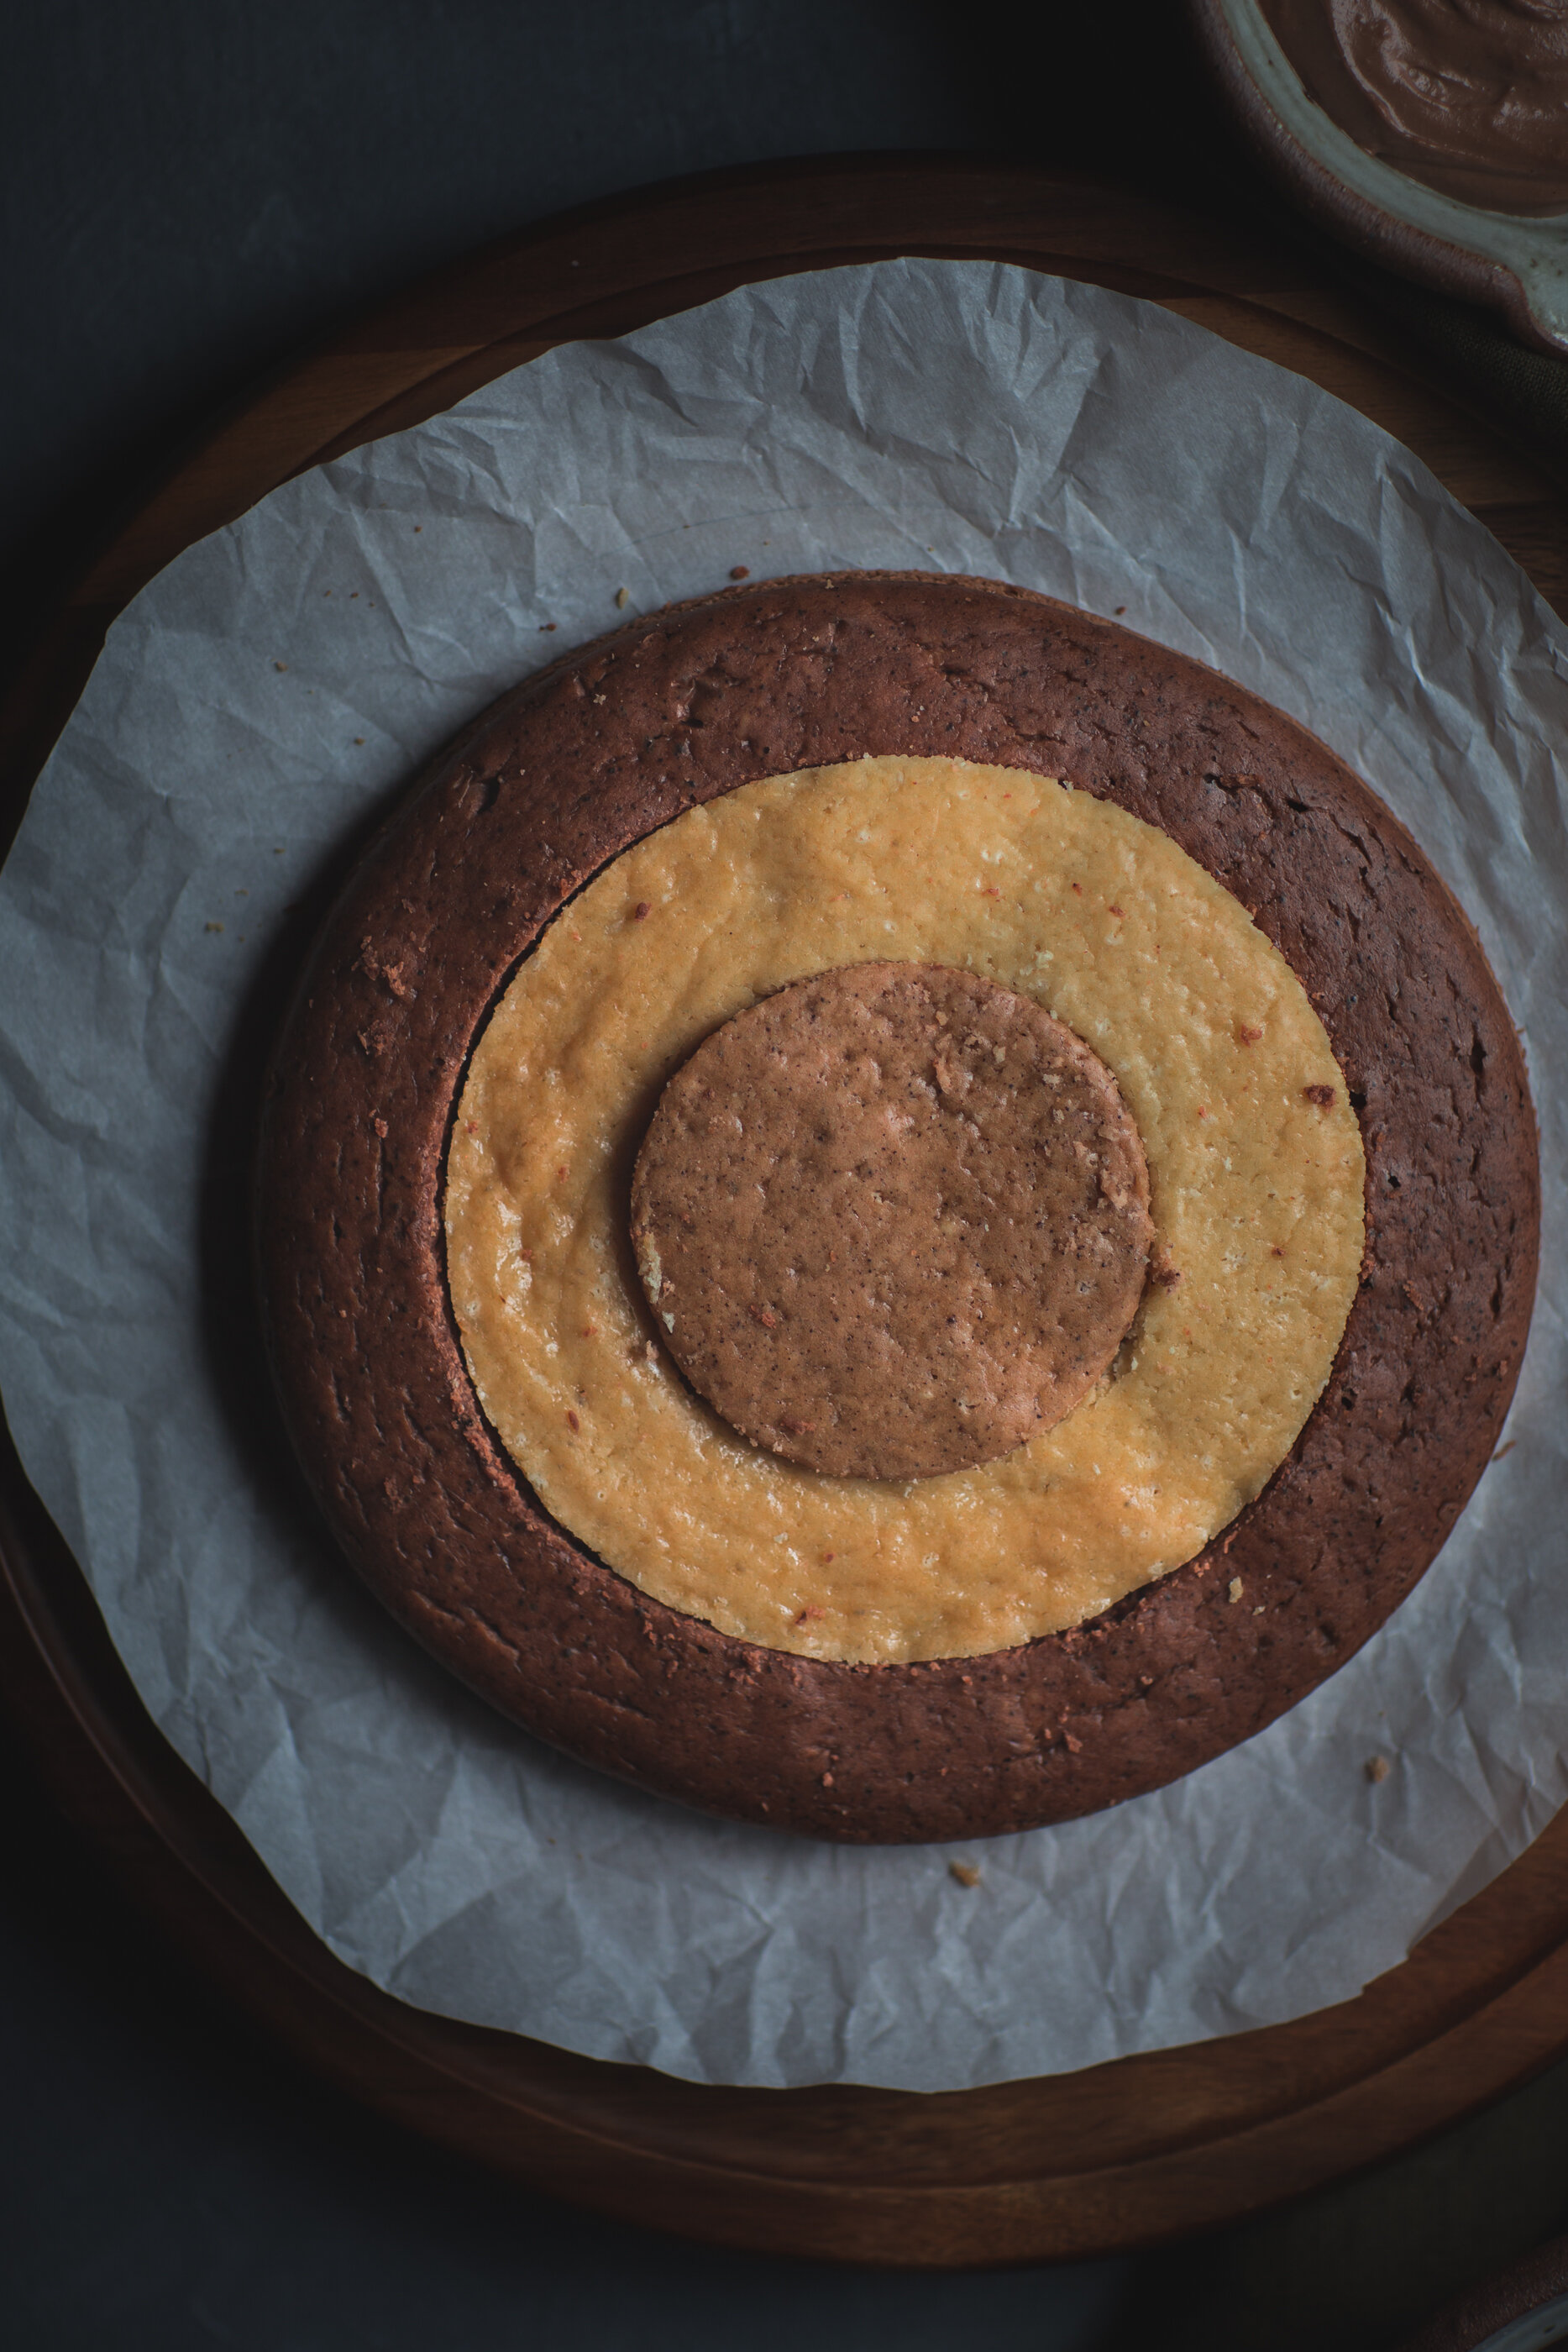
- To form each layer follow as following: for the first layer you fix smallest ring chocolate, middle light chocolate and outer vanilla; second layer fix smallest ring vanilla, middle ring chocolate and outer is light chocolate; for the last layer the smallest ring is light chocolate, middle ring vanilla and outer chocolate
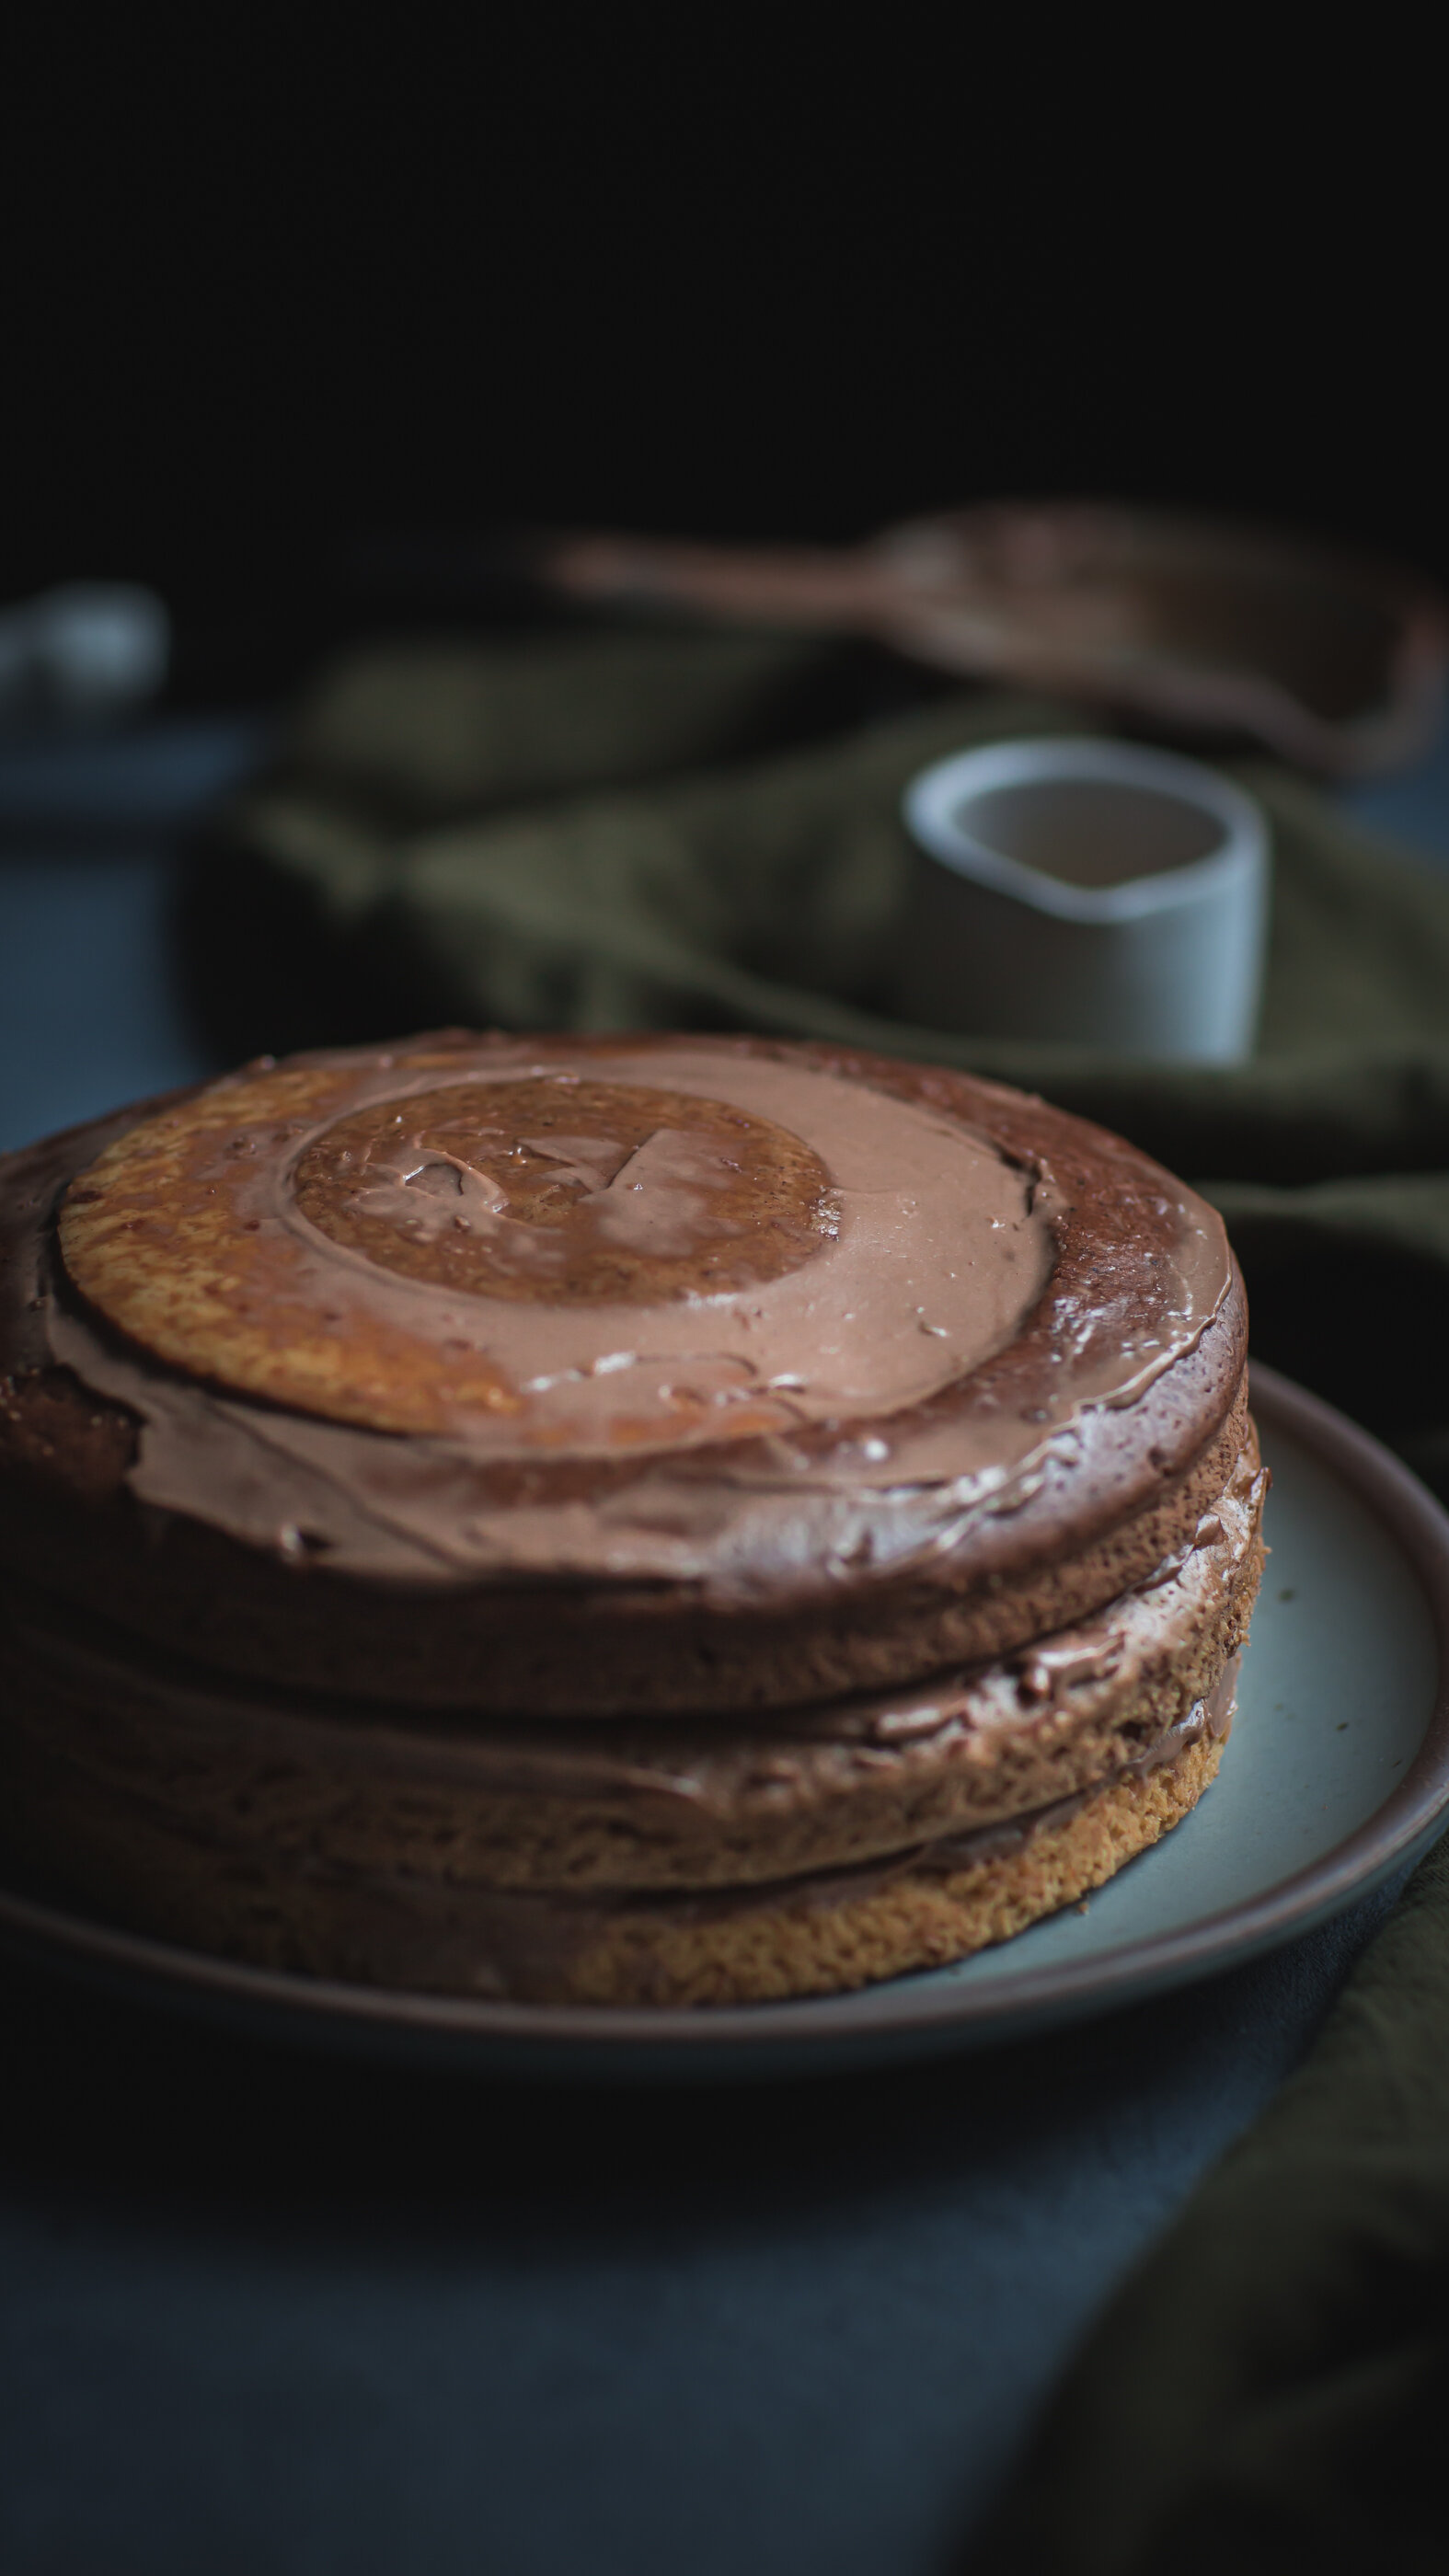
- To arrange the cake you place first layer and spread a little of the frosting, enough to cover some gaps in between rings (photo) and do the same with the next layers; now you can gently pour the ganache and softly spread with a metal spatula, drizzle some caramel per your liking. Let the ganache set a bit between 5 – 15 minutes and it is ready to serve. It can be saved at room temp covered with plastic up to 2 days and then it starts losing its moisture
